Tips for photographing birds
A keen amateur wildlife photographer, BTO president Frank Gardner shares his suggestions for improving your chances of getting that perfect shot.
But… and there’s always a but, getting a decent photo does take patience, a bit of planning and, preferably, a telephoto or zoom lens to bring your subject into sharp focus from some way away. However, even if you don’t have that then there are still alternatives, like hiding yourself close to a bird feeder, next to a window, or waiting quietly in a car with the engine off and the window down; cars make excellent mobile hides, I’ve found.
Target species
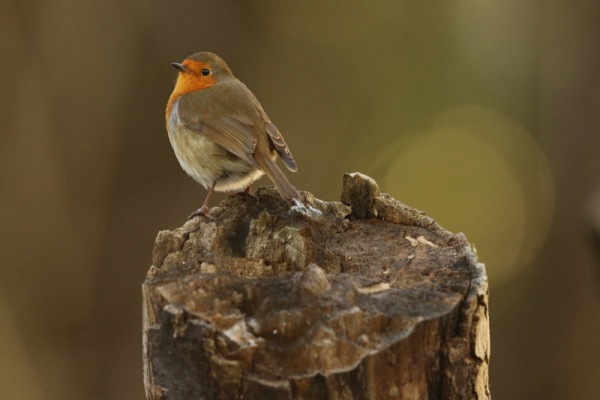
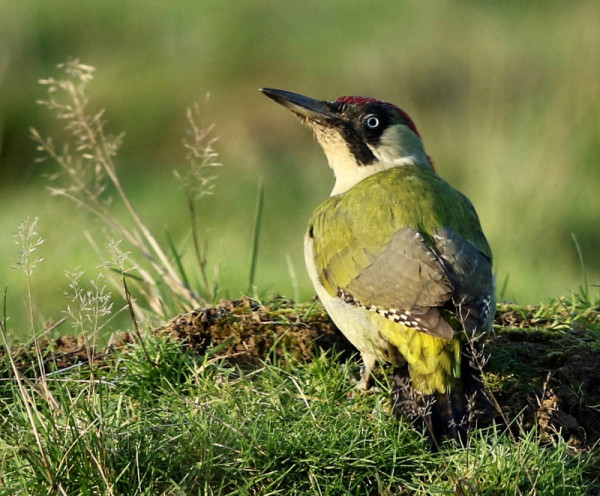
So first off, you need to decide what it is you’re after and my advice is don’t be too ambitious at the beginning. While we all admire those perfect shots in magazines and online of a Red-throated Diver on a misty lake at dawn or an Arctic Tern silhouetted against the sun, those pictures are usually the end result of a huge amount of work and frustrating days of no results. Better to head down to your local park, pond, woodland or heath and see what’s about. Just because Robins, Starlings and Blue Tits are familiar garden species it doesn’t mean they can’t make exquisite photos, especially if you can catch them in action. If you’re able to get to a wetland or an estuary then you’re likely to have a wide range of ducks, geese and waders to choose from but they are likely to be some distance off.
Just because Robins, Starlings and Blue Tits are familiar garden species it doesn’t mean they can’t make exquisite photos, especially if you can catch them in action.

Choosing your location
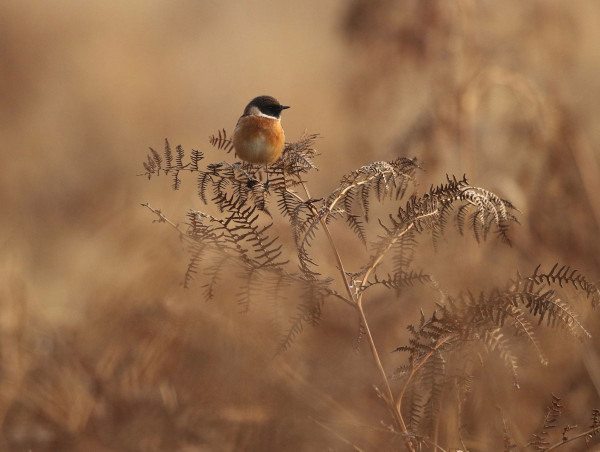
Lockdown has meant that most of Britain’s bird reserve hides have been closed for months but you don’t necessarily need a hide to get decent photos, you just need to choose your location carefully. Some of the most striking photos tend to be when the subject is perched on an exposed post, branch or bush. This brings it into sharp contrast with the background, creating a lovely, clean effect. The Japanese call this ‘bokeh’, meaning blur, as it accentuates the in-focus subject. What you don’t want is a lot of confusing leaves and foliage that make for a cluttered ‘noisy’ photo that detracts from the bird itself. Summer makes this a lot harder, of course, which is why many bird photographers prefer the winter months, but you can still capture shots of birds like Stonechats, Whitethroats and Dartford Warblers that like nothing better than perching prominently on top of a shrub or gorse bush. Ideally, you also want to site yourself behind some cover so you don’t scare off your subject the moment it flies into view.

Weather and time of day
This isn’t just about daylight, it’s about avoiding the busy times when too many people around tend to scare off most wild birds. Early mornings tend to be best as birds have woken up hungry and are often at their most active then. The last hour before dusk is also good. In both those cases the natural light is at its best, especially on a warm, golden summer evening that gives any subject an attractive glow. I tend to avoid taking pictures in the middle of the day during summer as the strong overhead light often ‘bleaches out’ much of the finer details of plumage. Rainy days can often provide surprisingly good opportunities as birds fluff up their feathers with those rain droplets on their backs. Strong, gusty wind keeps a lot of birds grounded but it can also make for spectacular shots of airborne seabirds, even our familiar Black-headed gull.
Behaviour
Yours, not theirs! You don’t have to stay rigidly still but it’s important to avoid any sudden, violent movements like raising the camera up too quickly. You really don’t have to dress up like an SAS sniper in full camouflage gear but it’s best to avoid bright, day-glo colours. I would advise turning your phone onto silent or even off altogether. You don’t want to have to take that call at the exact moment when that Goldcrest perches just metres in front of you! When you’re approaching a perched bird try to move slowly. One trick I use, even though I’m based in a wheelchair, is to approach it at a diagonal so the bird doesn’t think you’re coming straight towards it; that way you can get closer.

Getting the kit right
This is going to sound obvious but make sure you’ve charged your camera battery and got enough spare memory space before you set out. As well as binoculars, you might want to pack an alternate lens in a day sack over your shoulder. I use a 500mm f4 fixed telephoto for close-ups and a 100-400mm f4.5 zoom for a bit more flexibility. I also pack water, snacks, a waterproof and a baseball cap to keep off the sun and the rain. Tripods are a mixed blessing. They obviously give you far more stability but they are a pain to carry about and they can slow you down if you need to react quickly when that glorious male Redstart is perfectly perched on that tree stump for all of two seconds!
Editing
Thanks to the wonders of digital photography this is a whole art in itself but I like to keep it to a minimum so as to preserve the shot as naturally as possible. The one thing I always do though is to crop it to get rid of any extraneous, unnecessary detail, like an intruding leaf or branch. That allows the viewer to appreciate the bird itself and its immediate surroundings. You can also enhance the lighting and saturation or add effects like ‘Vignette’ which will darken the edges of the photo, drawing you in to the subject.

Above all, photographing birds is about practice and experimentation to find out what works best for you. Some of the interesting bird photos I’ve seen have been taken on a mobile phone by people who weren’t even sure what they were taking!
Frank Gardner’s nature photographs are on Instagram @frankgardner_nature


Share this page